©
©
|
©
|
|
Previous: Introduction Although the parts kit shown in this guide is old-generation hardware, the core knowledge shown here still applies to any ATX-type computer build. IMPORTANT: How to prevent damage to your computer parts from electric/static shocks You can buy an anti-static wrist strap that grounds you at all times. Otherwise, make a habit of touching a grounded object before picking up or touching any of the hardware. If the case is plugged into the wall, it's grounded even when the power supply's rear rocker switch is in the 'Off' position, so that's a good item to use. First, ensure that you have an ample supply of snacks and beverages. : ) For a value-oriented system, you can go with something basic like I used here:  On the other hand, if it's a high-end computer, it calls for...  (pizza pic courtesy of thraxes) Here's my parts kit:
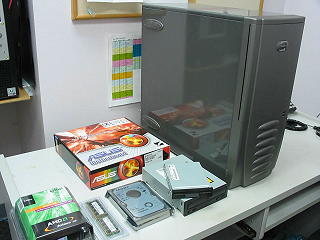 This computer will be an office system, so it'll be fine with its onboard video, audio, and network features. The finished system won't have any add-in PCI or AGP cards. Later you'll see it with an AGP video card for demonstration purposes, however. That motherboard seems small The case is a standard ATX case and will accept ATX, microATX or even FlexATX motherboards. I picked a microATX motherboard that has one AGP slot and three PCI slots. A full-sized ATX motherboard may have as many as seven slots.
You'll find two types of screws in most computers. The picture below shows the finer metric-threaded screws on the left, and the coarser UNC 6-32-threaded screws on the right. The big ones are "thumbscrews." If you have any difficulties with a screw, double-check that it's the correct threading. The case will come with the necessary screws. 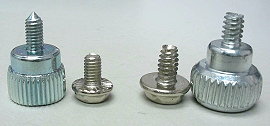 Different cases open in different ways, but usually the left side panel comes off either by sliding backwards until it disengages, or by swinging outwards as if it were on a hinge. This case is the hinge type. To open it, I push on the thumb latches, and unscrew the thumbscrews at the rear of the left side panel until they let go. 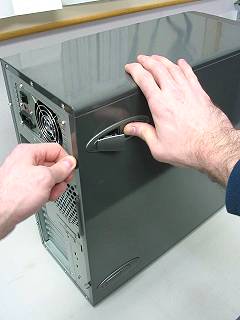 I'm also going to take off the right side panel. It's held by the two Phillips screws at the rear. 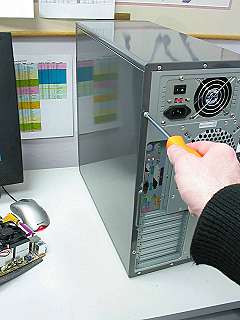 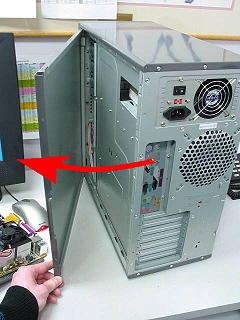 Now that the side panels are off, I can unlatch the bezel (the case's plastic front face) and take it off. This case's bezel is held by a little clip on each side at the bottom. I'm pointing at one of them here. On many cases, the bezel is held on by multiple plastic tangs that are visible from inside the case. Adapt and overcome as needed, and be patient if you don't see how to release the bezel right away. 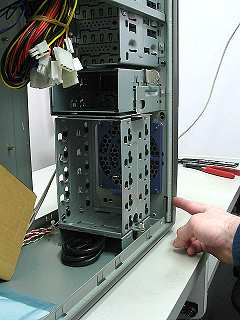 Pulling the bezel off... 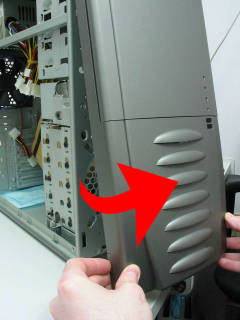 ...and here's the front of the case. 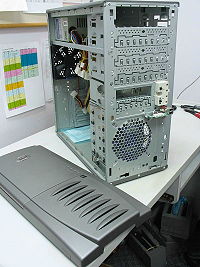 I'm not taking the case apart just for fun. This case uses "rails" that screw to the side of the CD-ROM drive, and the bezel had to come off so the drive can be slid into place, and the side panels had to come off in order to remove the bezel. Let's unpack the box of parts that comes with this case. 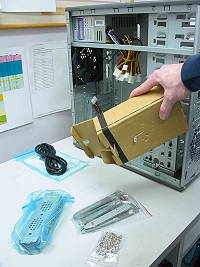 Here's a pair of rails. 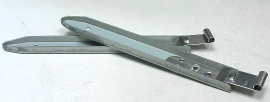 Screwing the rails to the CD-ROM drive. 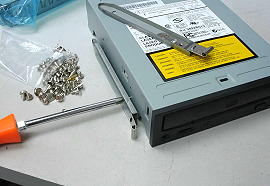 Rails vary from case to case, so if your case comes with rails, don't lose your extra rails. Some rails have multiple sets of screw holes to choose from when screwing them to the sides of the drives. Not all cases use rails. Here's the "traditional" design where the drives are simply held into the bays with screws. 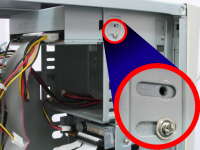
This CD-ROM drive is typical of IDE optical drives, whether DVD or CD: from left to right, it's got
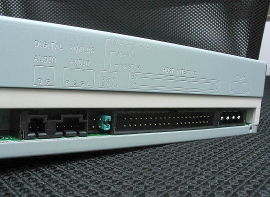 I'm leaving the CD-ROM drive's jumper on the Master pins. It'll be alone on its own data cable, so any jumper setting would work. If I were adding a second drive on the same cable, then I would set the second drive to Slave. If two drives are on the same IDE cable, you don't want both of them to be set for Master, or both Slave, because then they'll conflict with eachother. With the rails screwed onto the CD-ROM drive, I push it into a vacant bay. Many cases come with metal covers in the bays, as you can see here. They prevent EMI (electromagnetic interference) from escaping. The covers are designed to be broken out by flexing them. 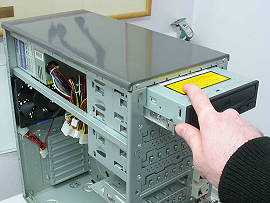 The rails will click-lock when the drive is seated. To release it, I would press the exposed ends of the rails against the drive while pulling the drive outwards. 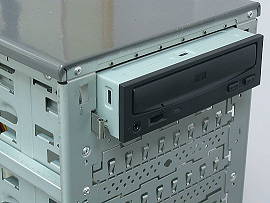 In this day & age, you are more likely to be installing a memory-card reader than a floppy-diskette drive. In either case, here's how: This case's 3.5-inch drive cage is removable. 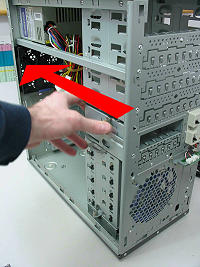 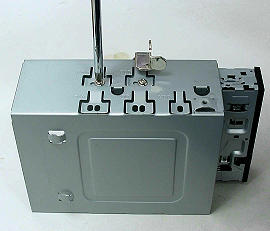 Before putting the bezel back on, take out the placeholder "blanks" that the drives will now occupy. Re-engaging the bezel. For this case, I engage the hooks at the top, and then push the bezel in at the bottom until it latches on. 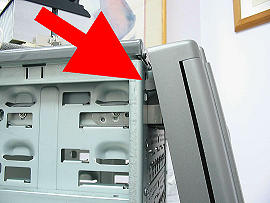 This looks right, the drives are flush with the bezel. Snack break! : )  Next we'll get the inside of the case ready for the motherboard. Next: Caseprep, page 2 |